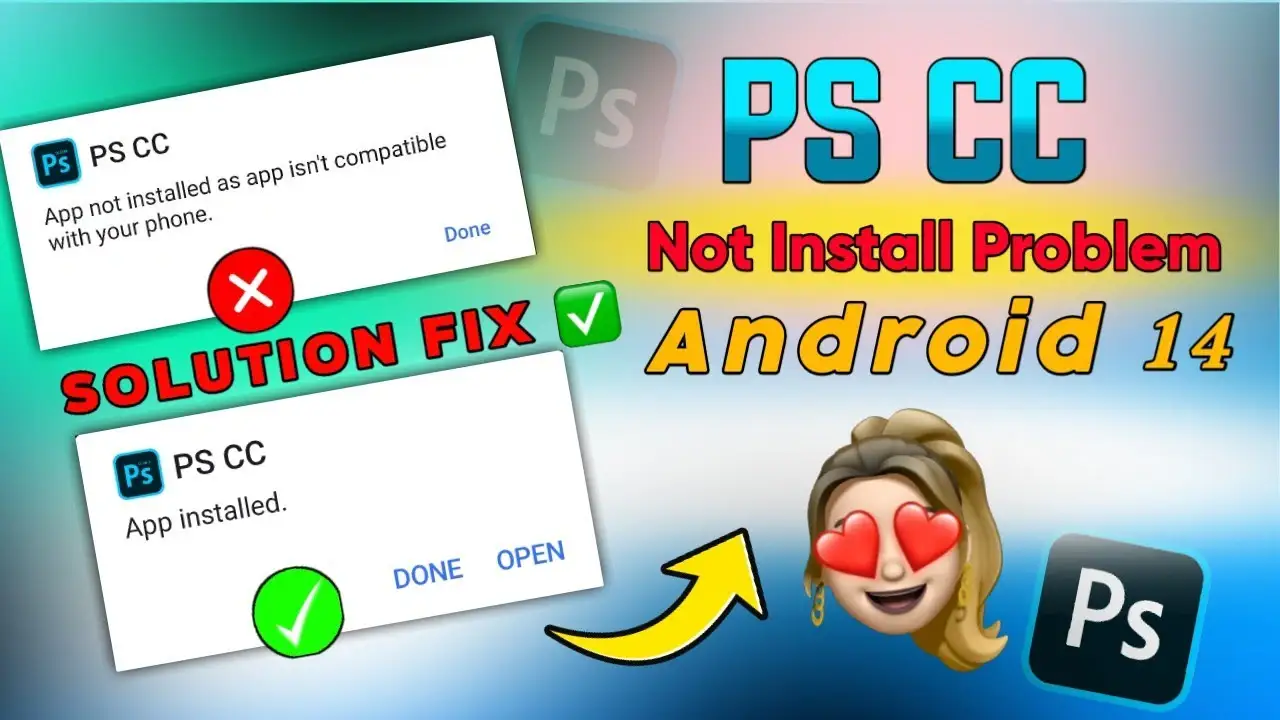
Are you struggling to install the PS CC app on your Android 14 device? Don’t worry—you’re not alone. Many users face issues while installing third-party apps like PS CC on newer Android versions. But in this blog post, I’ll show you the easiest and safest method to install PS CC on Android 14, step by step.
Why Is It Hard to Install PS CC on Android 14?
With Android 14 rolling out on new phones, Google has increased security measures. These changes make it tricky to install third-party or modded apps, especially advanced tools like PS CC.
But don’t stress—I’ve got a tested method that works perfectly even on Android 14.
Things You’ll Need Before Installation
Make sure you have the following three apps downloaded:
- PS CC APK
- Shizuku App
- SAI (Split APKs Installer)
Important: Don’t skip any step in this guide, or the installation might fail.
Step 1: Enable Developer Options
- Open your phone’s Settings.
- Scroll down and tap on About Phone.
- Find Build Number and tap it 7 times.
- Enter your lock screen password if asked.
- You’ll now see a message saying “You are now a developer!”
Step 2: Turn On Wireless Debugging
- Go to Settings > System > Developer Options.
- Scroll down and enable:
- Wireless Debugging
- USB Debugging
- Once enabled, move to the next step.
Step 3: Connect to Another Phone’s Hotspot
Since some steps require a local network connection:
- Turn on Hotspot from another device.
- Connect your Android 14 device to this hotspot.
This is important for wireless pairing.
Step 4: Pair Using Shizuku App
- Open the Shizuku app.
- Tap on “Pairing”.
- The app will show a code.
- Tap “Pair with pairing code” and enter the code shown.
- If pairing is successful, proceed to the next step.
Don’t worry if it looks different for your device—it still works!
Step 5: Grant Permissions
- After pairing, tap “Start” in the Shizuku app.
- You’ll see a success message.
- This confirms Shizuku is active and ready.
Step 6: Install PS CC Using SAI App
- Open the SAI (Split APKs Installer).
- Tap on “Install APKs”.
- Tap “Choose File” and select your PS CC APK from your storage.
- Once selected, you’ll see multiple options.
- Make sure to enable:
- Bypass low trigger
- Install via Shizuku
Step 7: Complete the Installation
- Tap on “Install” at the bottom.
- The app will begin installing.
- Wait for a few seconds—it’s not a long process.
- Once done, you’ll see PS CC installed successfully.
Open the app and click on “Continue” to start using it!
Step 8: What You Can Do with PS CC App
Once PS CC is installed, you can:
- Import photos
- Edit images like a pro
- Export projects
- Use all advanced features just like on PC
And guess what? No crashes. No errors. 100% smooth performance on Android 14!
Final Tips & Troubleshooting
- Don’t skip steps, especially developer options and wireless debugging.
- If pairing fails, restart both devices and try again.
- Always use the latest versions of Shizuku and SAI.
Conclusion: Install PS CC on Android 14 Without Any Hassle!
Installing PS CC on Android 14 might look complicated, but if you follow the steps above, it’s actually super simple. You just need the right tools and a bit of patience.
If this guide helped you, don’t forget to like and share! Thanks for reading—and happy editing with PS CC!